Date Night Glam

Tags

, ,

Saturday nights are always a fun occasion whether you are going out with friends or you’re having a date night. On the weekends having time do your makeup properly is no longer a luxury like it is during hectic week days and you can afford to take that little longer to make sure your makeup is fully glam and flawless. Here was my Saturday night look this week.

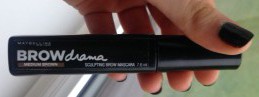
I start off my look by sculpting out my eyebrows.  For this I fill in the gaps using my brow cream then using light strokes I make my brows appear more full at the front by using a brow powder to create a gradient effect. I then use concealer and a defining brush to make sure my brows are super precise.

IMG_9089

MAC Gel Fluid Line Brow Cream, MAC Studio Finish Concelaer & Collection Brow Kit

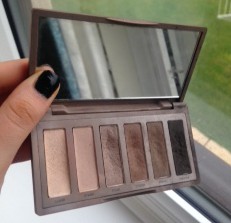
The palette I will be using on my eyes in one of my most loved collection of shadows, the Naked Basics 2 from Urban Decay. This has the most beautiful wearable selection of cool toned basic nude shades and they are all matte which is really unusual for a commercial palette. The shadows are so buttery but they do have a lot of fall out so it’s always important to do your shadow work before you do your face makeup because it can get quite messy.

IMG_9090

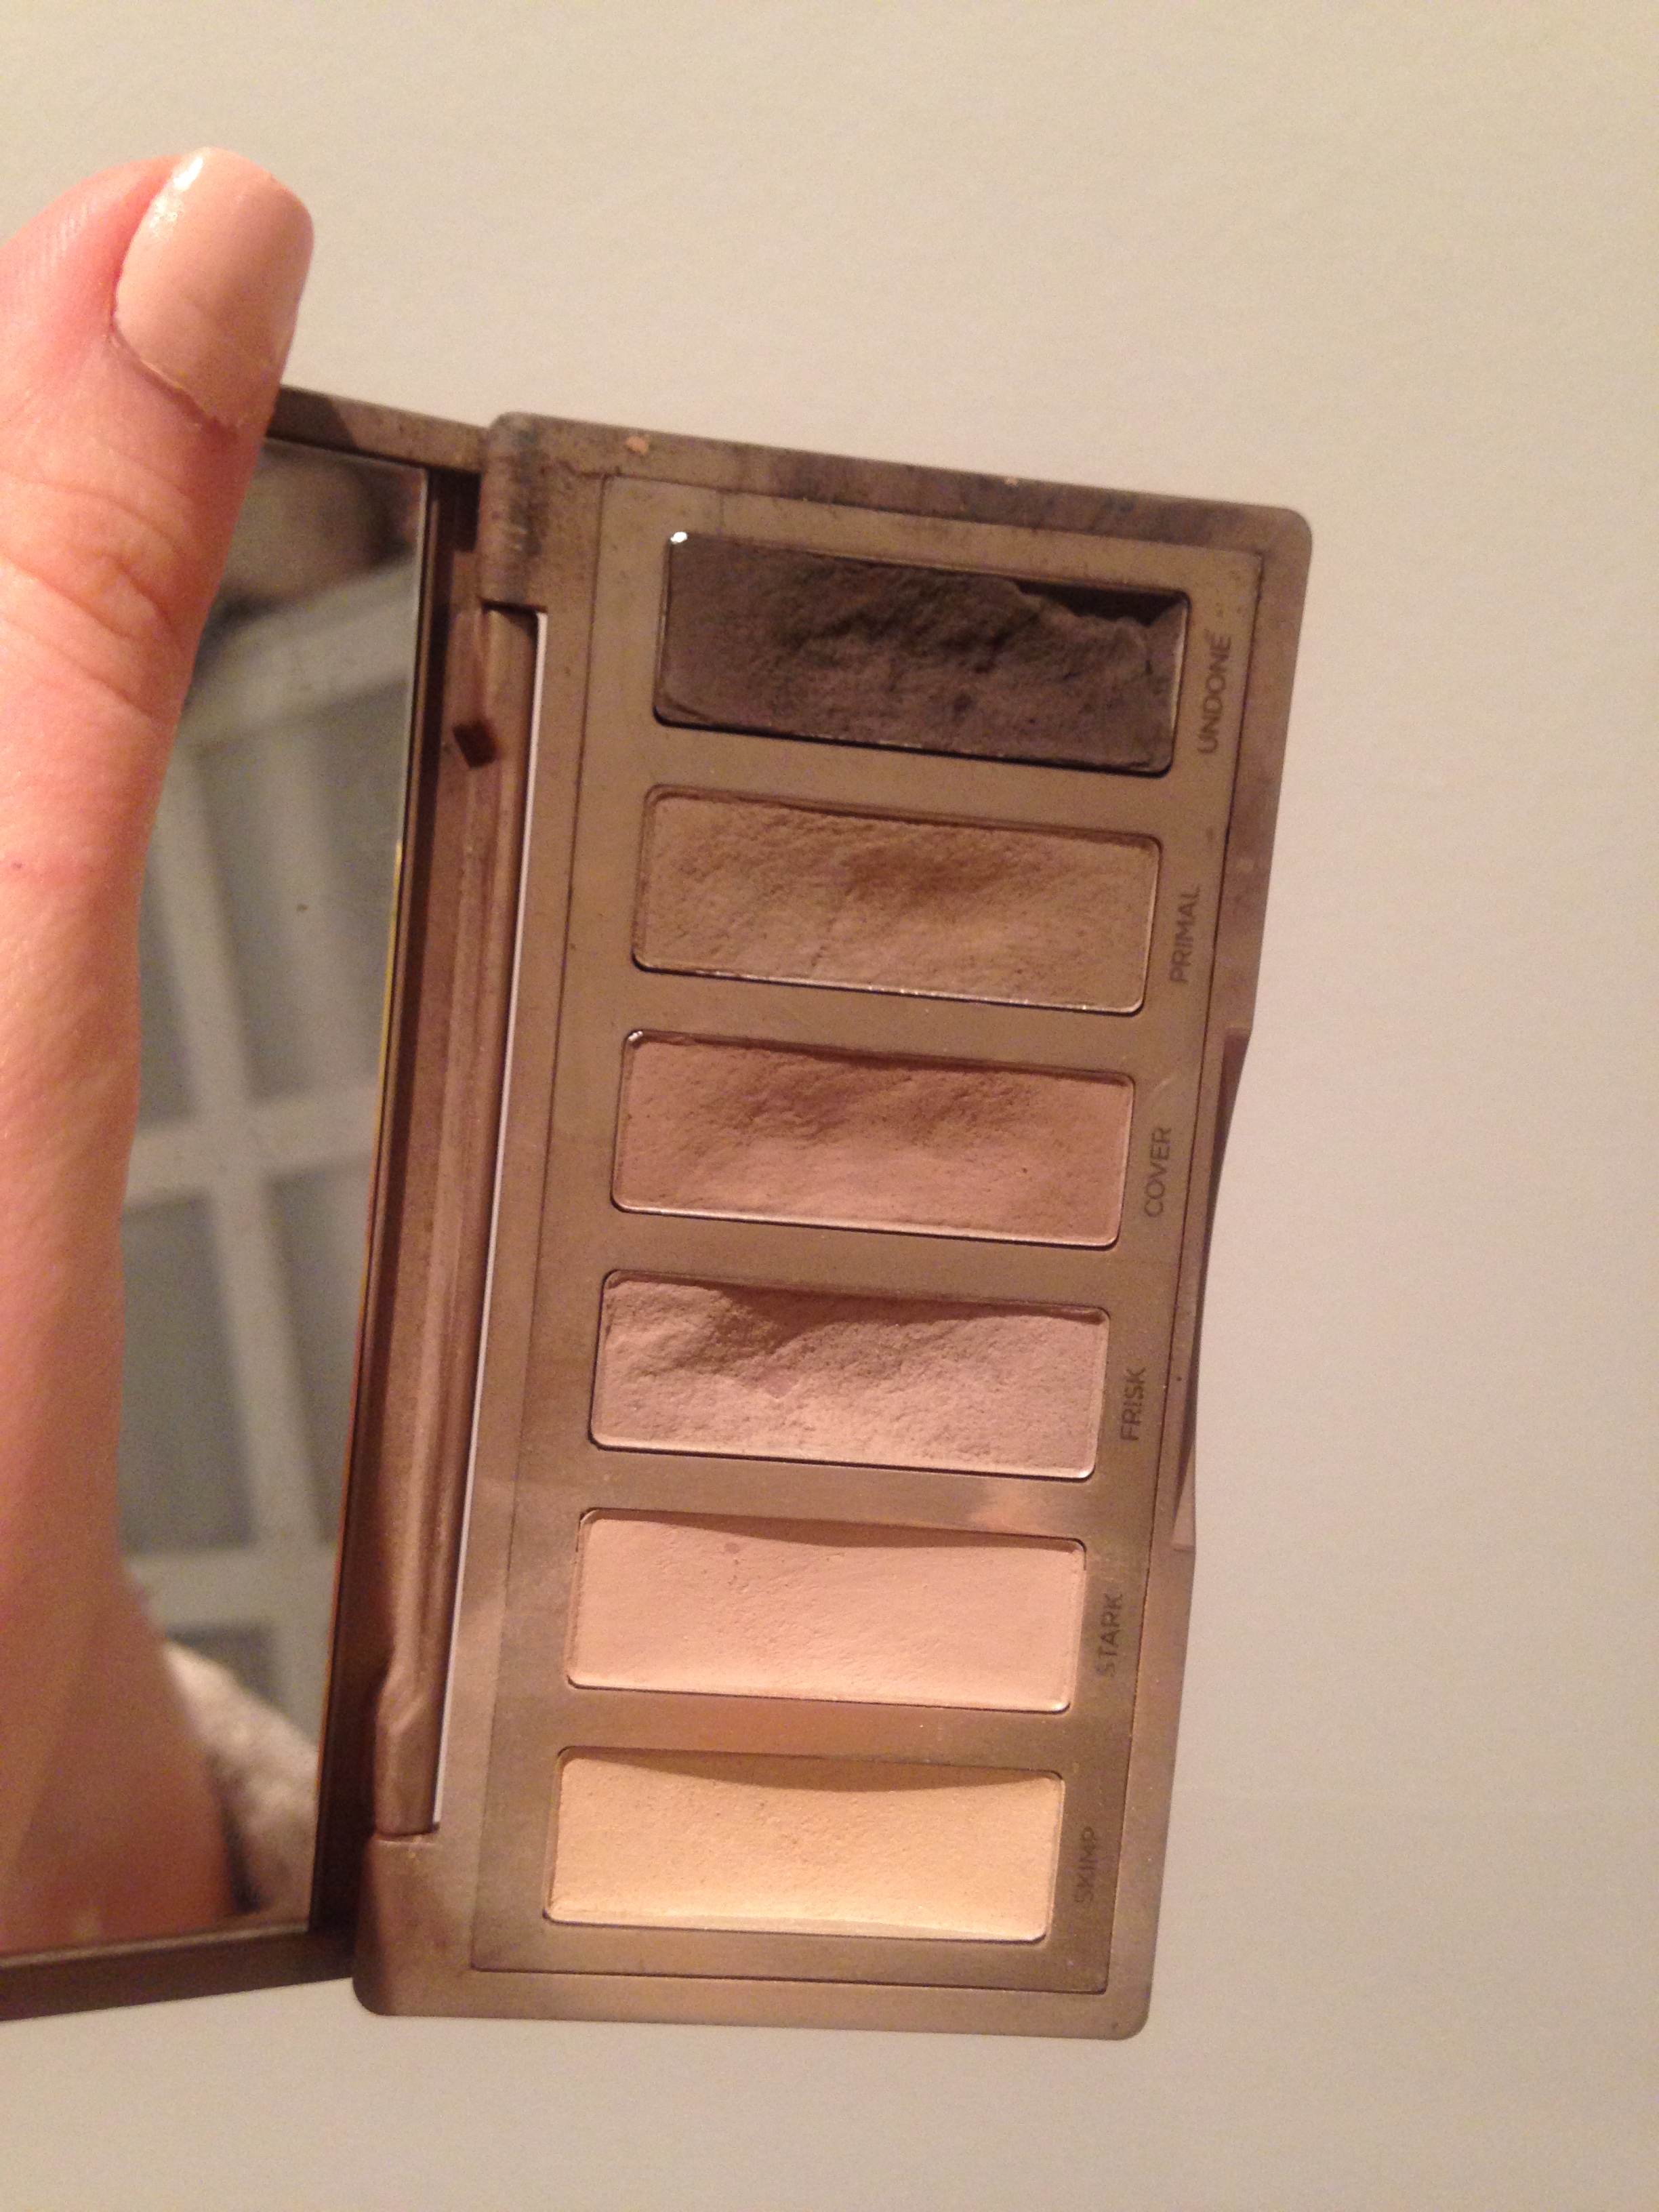
Naked Basics 2, Urban Decay

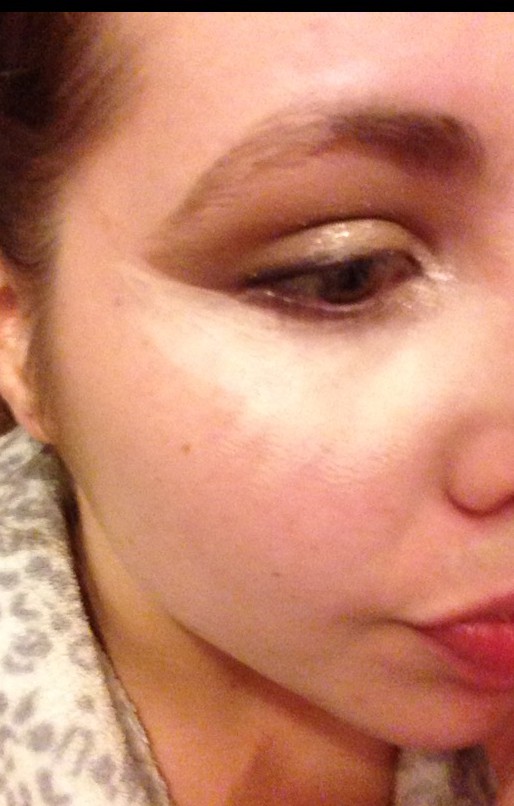
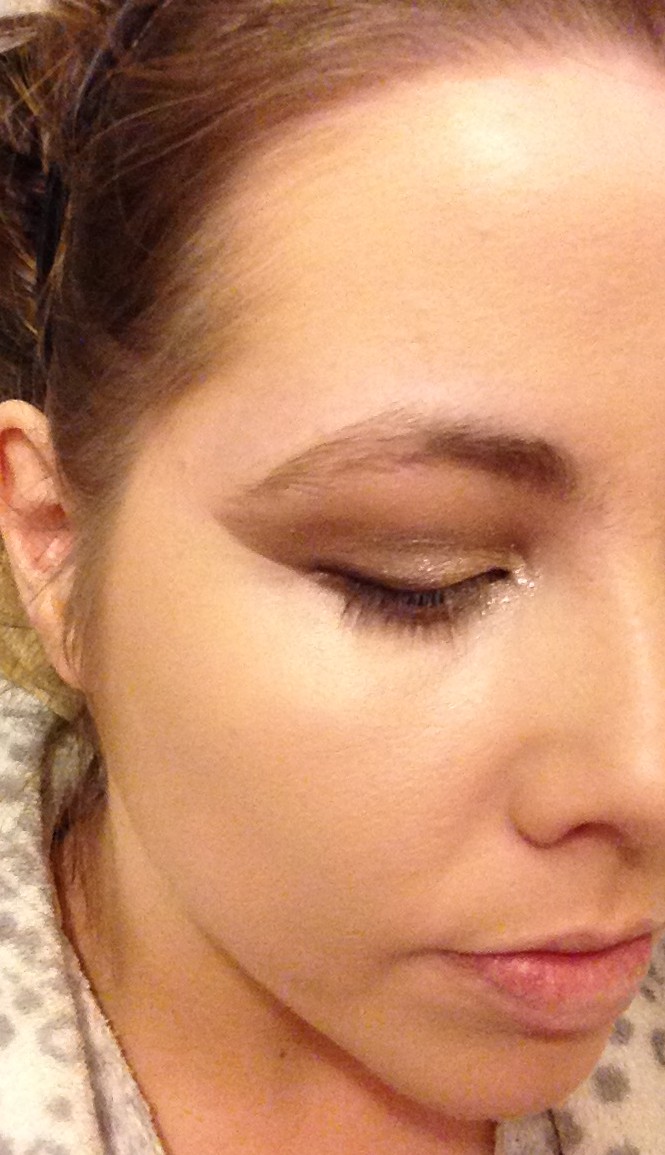
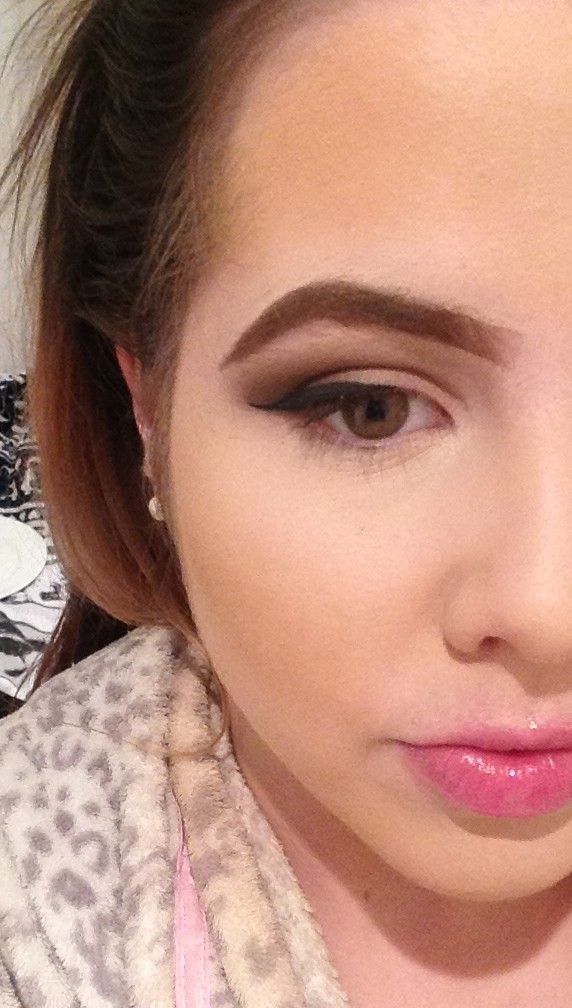
To start with I swept a medium ashy grey brown toned shadow across the whole of my lid from inner to outer corner. This is going to be the transition shade and help draw all the shades together when they start to build up.

IMG_9091

Now I’m taking the charcoal brown from the palette and working it through the outer corner of my eye, being careful not to take it in past the centre of the eye.

IMG_9092

I’m then using a cream shade from the palette in the inner corner of my eye on a densely packed brush to lighten up the look. Don’t worry about being messy when applying the shadows and blending everything out. To achieve a really blown out look it’s important to diffuse the shadow and then clean everything up after.

IMG_9093

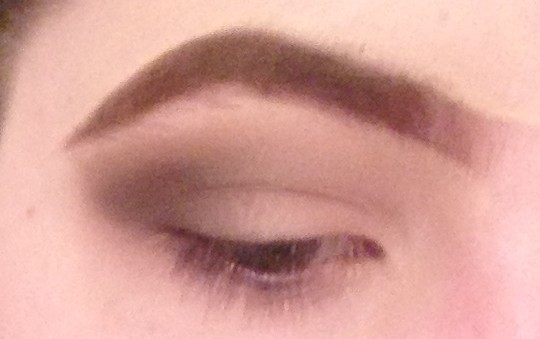
I then applied liquid liner following the same rule of not taking it past the centre of my eye. I slightly winged out the liner to create a cat eye and emphasise the blown out look by weighting the shadow on the outer edge of the eye. This is a super flattering look if you have smaller eyes and want them to appear larger.

IMG_9096

Moving onto my face, for primer I am trying out the Nivea Men Post Shave Balm. I’ve heard this is a great product to prep the skin for makeup so I wanted to try it out. It’s super cooling on the skin, hydrating and soothing if you have problematic skin. My face gets very flushed when I wake up in the morning so this is a great product for me to soothe and calm the skin before makeup.

IMG_9097

Nivea Men Post Shave Balm

My foundation of choice at the moment is from Soap and Glory, it’s affordable and has an amazing formulation. It’s great for oily skin tones as it is a liquid to powder formula so will stay put longer than traditional formulations and it is a buildable medium coverage so perfect for a flawless glam look.

IMG_9099

Soap and Glory One Heck of a Blot Foundation

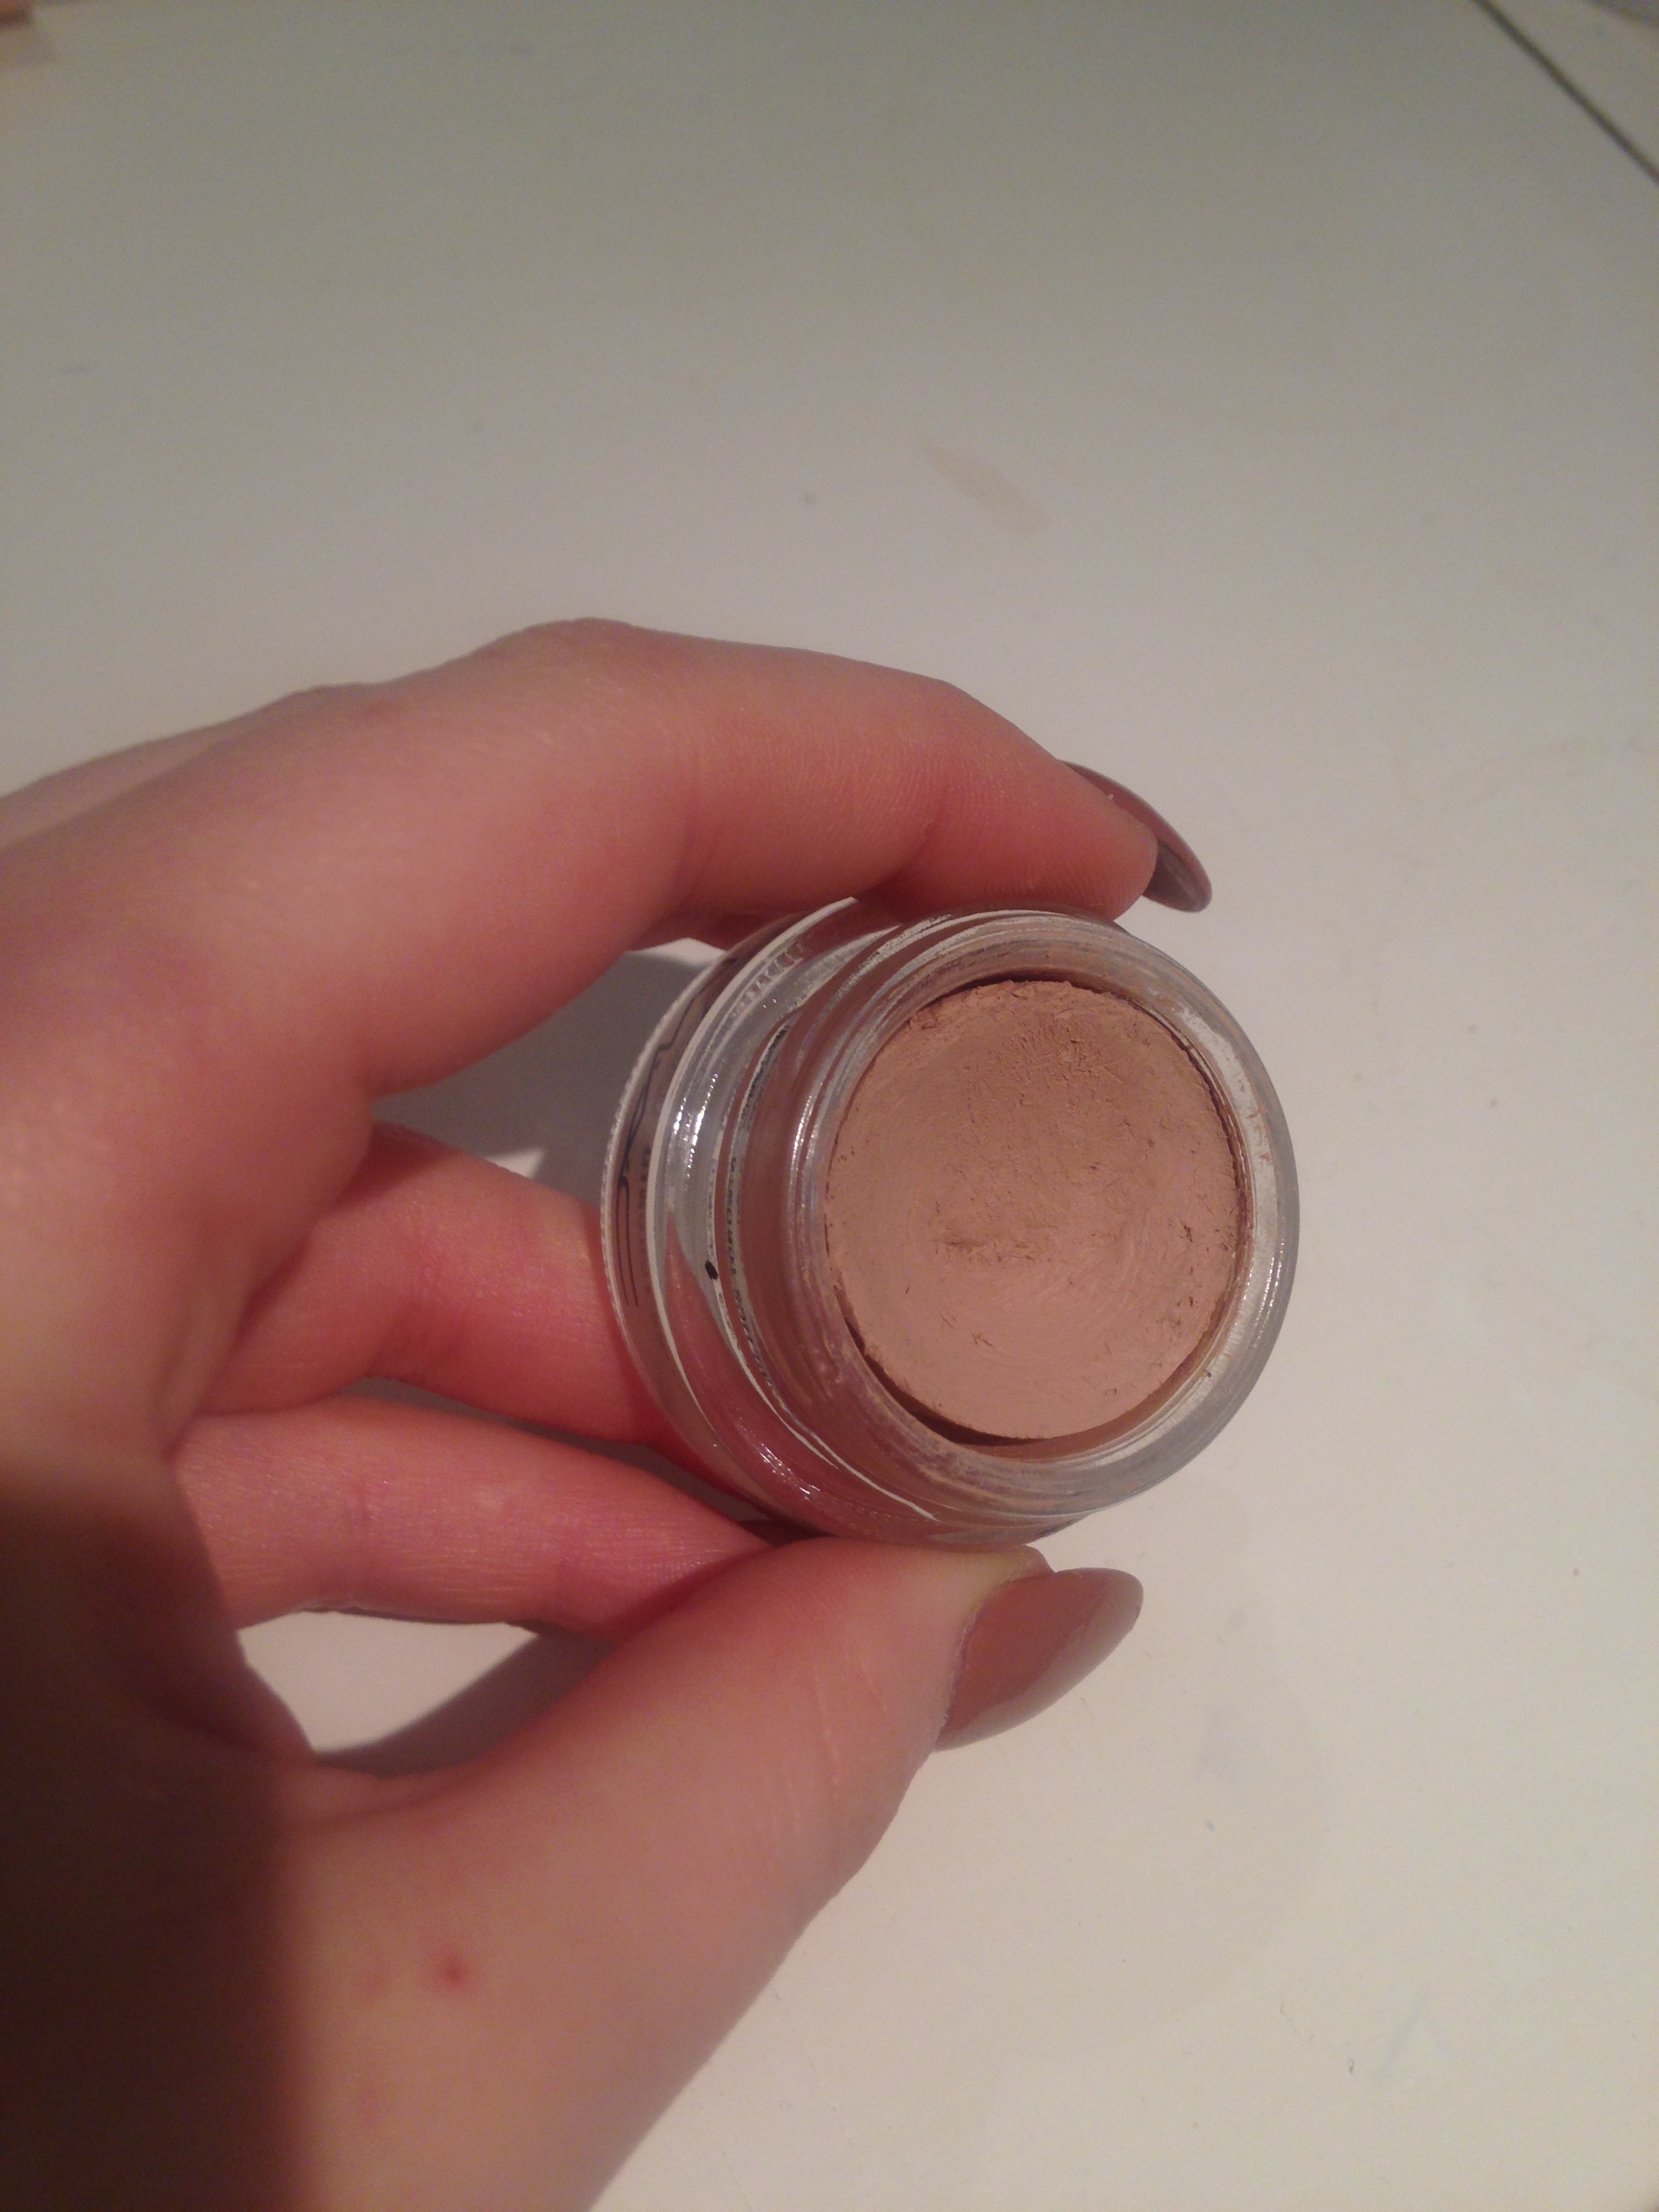
Next to highlight I used the Collection 2000 Lasting Perfection Concealer. It’s full coverage, really brightening and is an absolute steal at £4.19. I applied this using the new Maybelline sponge applicator. It’s designed and marketed to be used to buff out foundation but the sponge tip is far too dense and small for that. It also absorbs all of the product if you’re working with a liquid or cream! It’s a good tool to use to blend out concealer under the eyes and nose due to the contours of the face it fits in. It’s best used however as a tool to bake a super defined contour as powder products won’t be absorbed by the applicator.

IMG_9100

Collection 2000 Lasting Perfection Concealer

Next I set everything using my Collection 2000 Loose Powder- another affordable option! I use a densely packed flat topped brush to get another layer of coverage from this product.

IMG_9101

Collection 2000 Loose Powder

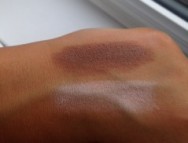
Next onto contouring which is my favourite step! I love how you can so quickly and easily add definition and structure to the face. I’m using the Kat Von D Shade and Light Palette. The formulations are super buttery and blendable. They’re really long lasting and are such a beautiful colour selection. I carve out my cheekbones, nose and chin with the lightest shade then I use the middle shade to add a sun kissed glow to my face and the darkest shade I apply using a fluffy eye shadow brush just on my cheekbones for added sharpness.

IMG_9102

Kat Von D Shade and Light Palette

I then moved onto baking my contour. I did this by using the loose powder I applied all over my face previously. I also used the Maybelline sponge to create a harsh edge to tidy everything up.

IMG_9103

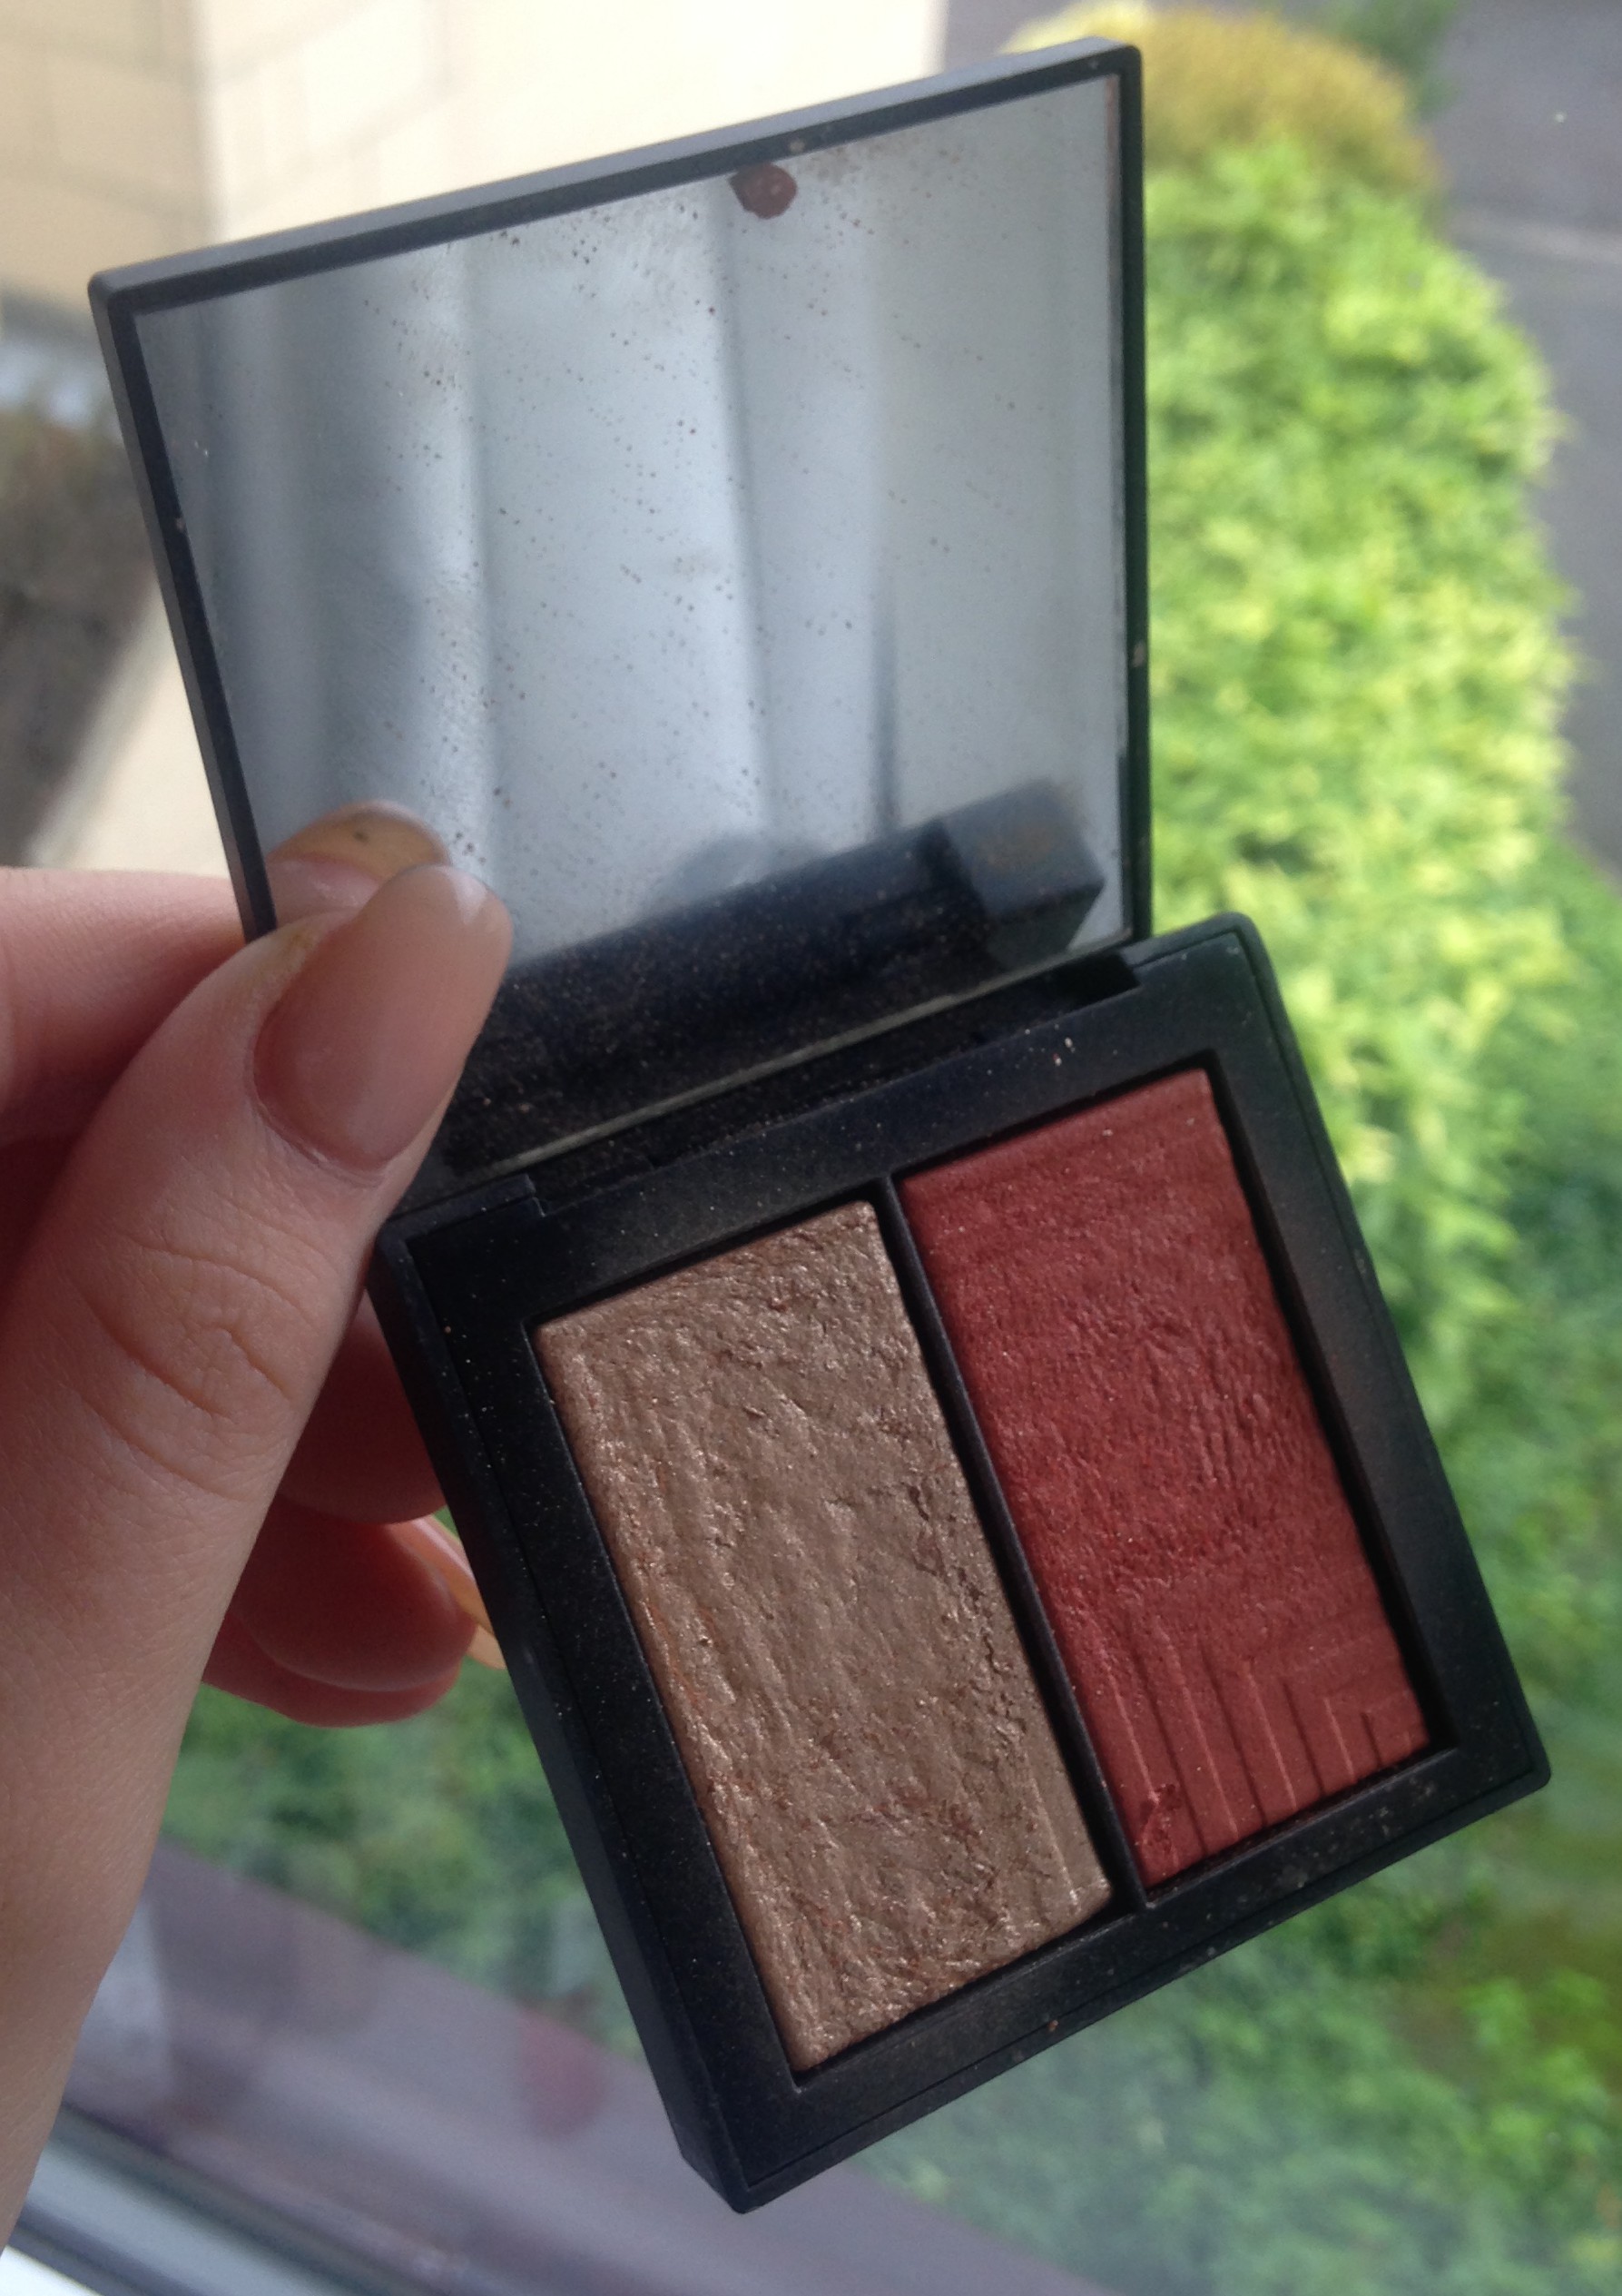
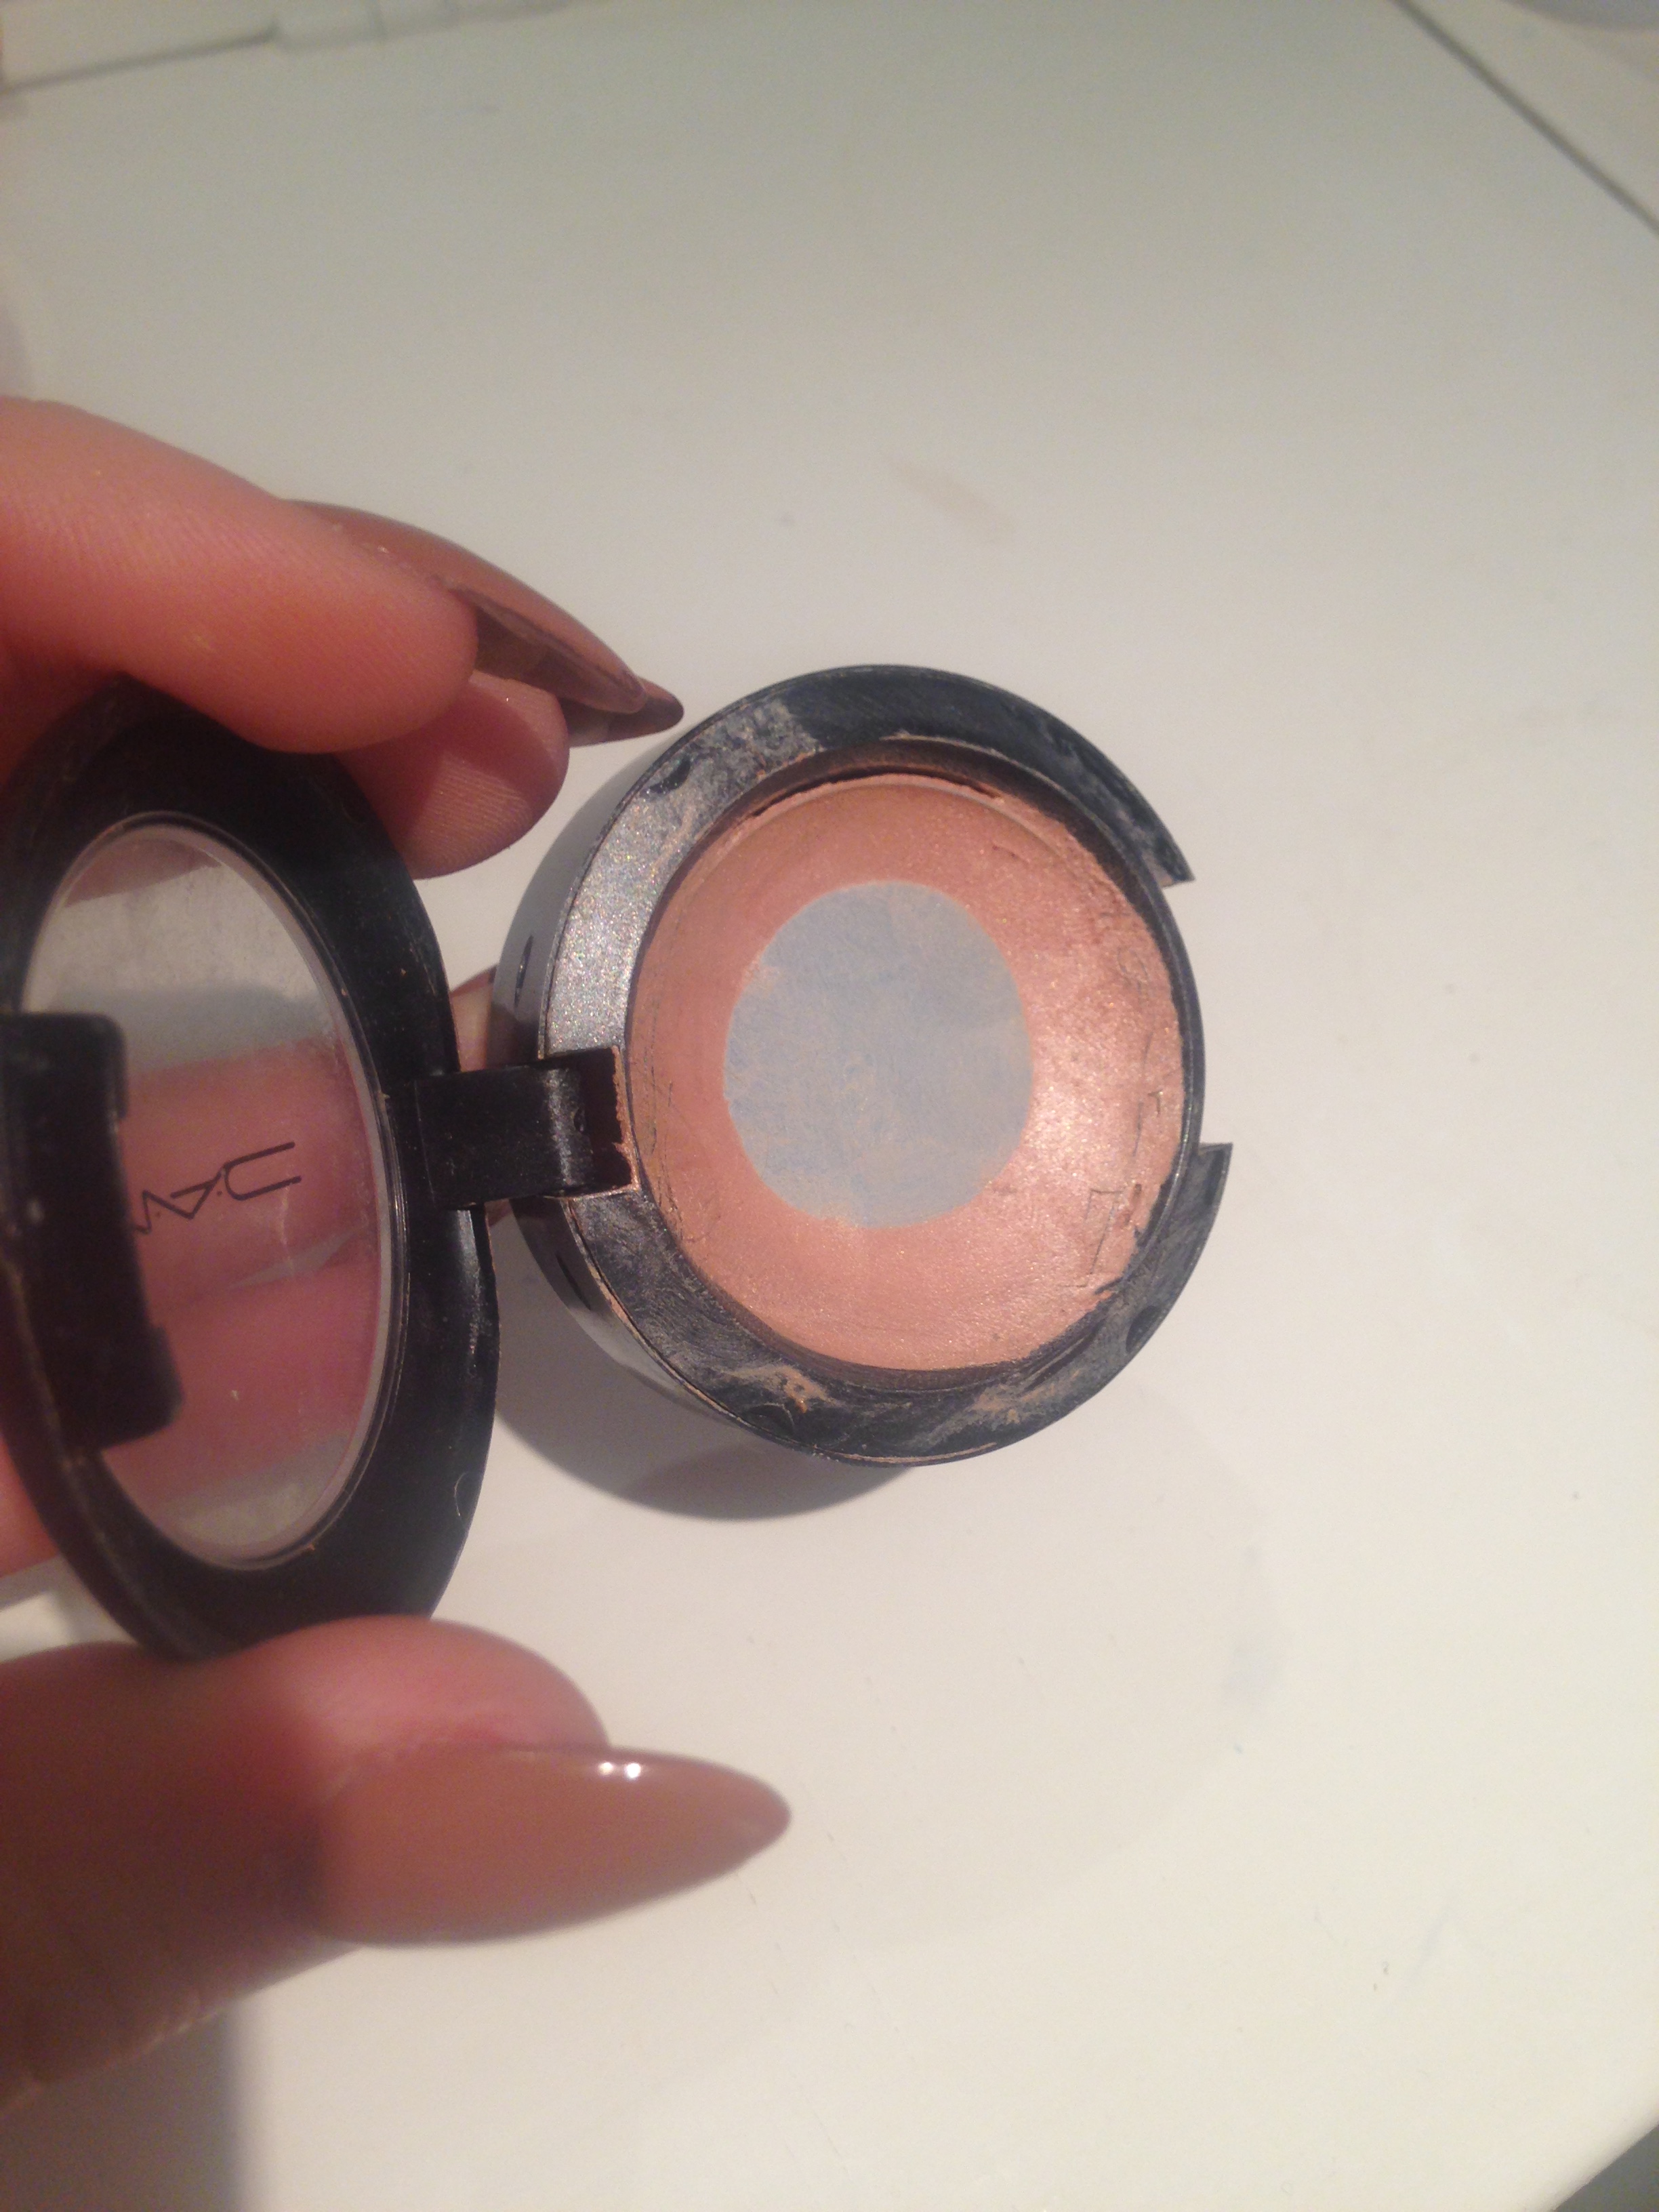
To counteract the cool tones of my eye shadow I’m going to use a warm colour palette on my face. For blush I used a warm peach tone from MAC that has a very slight hint of shimmer to add dimension to a super matte look. I then used a beautiful gold tone from a Nars Duo. I spritz my brush with MAC Fit+ before I apply this highlight for some real POW!

IMG_9104

MAC Warm Soul Blush & NARS Duel Intensity Blush in Frenzy

To make the look appear slightly fresher and dewy looking I sprayed a small amount of MAC Fix+ all over my face. If you layer your makeup, this will make sure you are matte but still fresh faced!

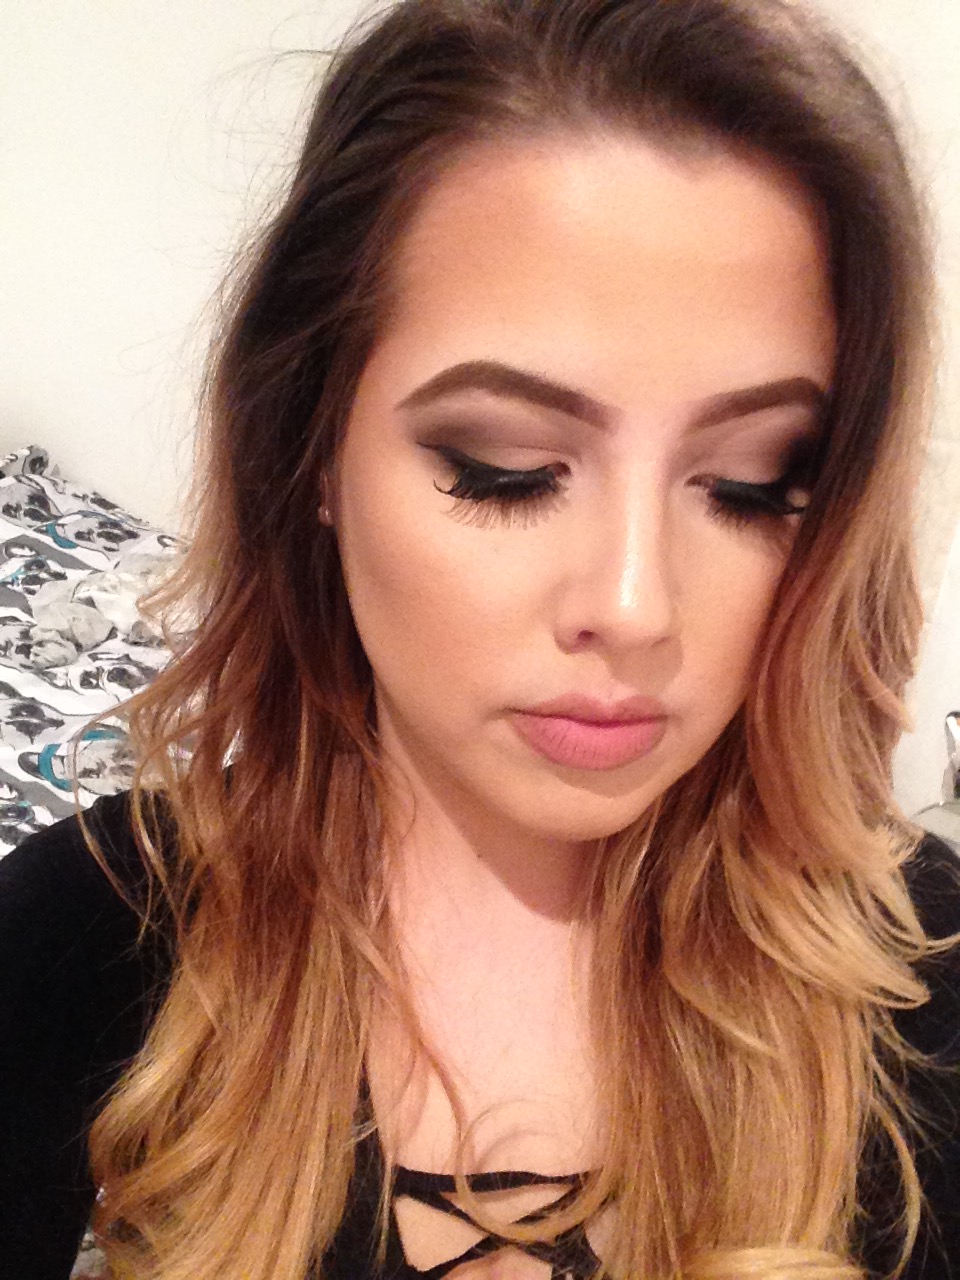
Lastly for lips, I applied MAC Yash Lipstick. This is the perfect comfortable and wearable nude for my skintone and is a staple in my collection. Throw on some lashes and you’re good to go!

IMG_9110

What’s your Saturday night look?

If you enjoyed this please like, comment and subscribe to Girl About Town

Brand Review: Makeup Revolution

Tags

,

Well performing, affordable cosmetics are hard to come by. I’m always excited when I find out a new budget makeup line has been launched. As much as I love premium and high end makeup, part of me is always intrigued by the promises and bargain prices of drug store makeup. I’ve been around the block when it comes to high street cosmetics and most of the time it is always a disappointing venture and I’m left with poor performing products and the £2 I spent on that eye shadow could of gone towards a new MAC pan. But like every brand be it high or low end, I feel that there are always hero products just waiting to be discovered.

I’ve been using bits and pieces from Makeup Revolution for around a year or so now. Last year they had a flash sale online where all their already affordable products were price slashed, leaving many products retailing at just penny prices. I ordered so many products, desperate to find the one life changing item that would become the new staple in my makeup collection.

For a budget brand, Makeup Revolution do well. Any beauty fanatic can see they rip off Too Faced in most of their new lines. They have their own selection of chocolate bar palettes, heart shaped boxed blushes and are probably working on their next mimicking item right now. I have the Too Faced Chocolate Bar Palette which retails for £40. It’s undeniably beautiful but when you could buy five eye shadow palettes from Makeup Revolution at the same price with reasonable quality, it does make you question the £40 investment.

Their formulations are good. The eyeshadows are somewhat stiff but they still manage to blend well. They don’t have a buttery or creamy feel but the application is still easy. The blush formulas are also similar to their eye shadows, firm but you can still use them to achieve a soft blended look. The range of lip products I’ve tried come in an array of finishes and formulations so there is really something to fit every beauty junkie be it a matte or satin finish lipstick, tinted balms, glosses and lip stains. Every lip product I have tried lacks staying power and the pigment soon disappears.

IMG_9061

Blushing Hearts in ‘Bursting with Love’, £4.99

As a brand Makeup Revolution is on trend and innovative. They follow market leaders like Stila to dictate the direction of their new ranges, meaning consumers can buy into new makeup technology without having to spend through the odds to achieve it. One of my favourite new pieces they added to their collection was the metallic eye shadows. They supply you with a small eye shadow jar filled with pigmented colour that’s a gel consistency. They also supply a small bottle with a drop applicator filled with mixing solution and a little tray. When you mix the solution and the shadow you create a truly stunning, bold and beautiful shadow that looks so flawless. These Eye Foils retail at £4 compared to Stila’s £33 which are literally identical in appearance, application and the kit.

Their colour correction lines are also light years ahead of other affordable makeup brands, providing a range of single item products and kits in varying finishes and formulations, catering to so many different consumers.

IMG_9062

Awesome Metals Eye Foils in ‘Rose Gold’, £4.00

The packaging is sleek and pretty. I transport my Makeup Revolution products without fear of them smashing or breaking. The palettes are very sturdy and have a big mirror on the inside of the lid. The blushes, even when in a cardboard box are reinforced with an inner lining and make them very durable. The packaging looks super pretty and would leave any makeup novice thinking the brand was premium.

They also offer good value makeup tools. I have a basic brush kit from them that I use every single day. My personal favourite brushes that I couldn’t be without from the brand are the F103 Foundation Brush that blends even thick formulas very precisely and evenly, the F105 Contouring Brush that’s super soft and dense and E103 Eye Shadow Brush that is very defined and great for a targeted application. They have no shedding of the brush hairs at all and look so beautiful with their rose gold and glossy black handles. These brushes are so affordable and were all available in a Christmas collection kit.

IMG_9060

Limited Edition Rose Gold Brush Collection

In summary, Makeup Revolution as a budget friendly brand is innovative, with good formulations and pretty packs. They offer far more complex formulas compared to other affordable brands and offer good alternatives to premium makeup items. If you’re selective about what items you purchase rather than going for a mass of product, you won’t be disappointed. I will definitely be keeping an eye on this brand to see what they launch in 2016.

If you enjoyed this please like, comment and subscribe to Girl About Town


January Favourites!

Tags

, ,

January has been such a hectic month for me, full of new life changes! I started the next chapter of my career in new product development for cosmetics and toiletries as well as moving to my new home in London. Because of that I feel like I haven’t tried as many new products as I normally would of but I definitely have a handful of products that have been essential this month.

Vaseline

It’s such a classic, a big jar of Vaseline! Every woman needs at least two jars of these- in her handbag and bedroom to keep chapped lips at bay. This is such a staple item if like me, you’ve been experiencing dry or cracked skin during the winter months. Before I go to bed I slather Vaseline on any dry areas of my face to nourish my skin. I also apply it on my lips as I’m doing my makeup but before I apply lipstick. It acts as a barrier to prevent loss of moisture throughout the day and keeps my lips super supple and smooth.

IMG_9001

Vaseline, £2.00

Maybelline- The Nudes Palette

I LOVE THIS PALETTE! I bought this at the end of last year when it was on offer. If you shop around, you can probably still pick this up from as little as £5. It has been an absolute staple in my makeup bag this month and it’s my go to palette at the moment. You can create such beautiful, wearable everyday looks or vamp it up for some sultry smokey styles. There is an amazing mixture of taupe and chocolate matte shades, to golden and burgundy shimmer colours. The quality of the shadows are so amazing, they feel really premium because they blend so well and are so buttery. With such a wide shade and finish range, it makes for such a versatile palette and it’s so affordable.

My personal favourite looks to create with this palette are a super defined crease with a cat eye using the matte browns and black shadow, a Middle Eastern inspired eye using rich golds and burgundy and a basic everyday smokey brown look.

IMG_9005

Maybelline The Nudes, £7.99

Molecule 02

I have never received any compliments on the fragrances I wear until I started using Molecule 02. The product story behind this fragrance is quite something- using one main ingredient (Molecule 02) the fragrance reacts with the pheromones in your skin to create an individual scent on everybody who uses it. It builds with intensity so don’t be alarmed when you smell it from the bottle or on yourself immediately after application and you can’t pick up any smell whatsoever. It takes about 30 minutes for the scent to react with your skin but once it does, it gives off a deep woody smell. It’s definitely unisex but so fresh and vibrant smelling. I spritz this in my hair for a delicate scent.

IMG_8999

Molecule 02, £69.50

Sally Hansen Mega Shine

I decided to forsake my beloved acrylic nails for a more functional and practical nail- my own! One aspect of acrylic nails that I loved were the super shiny and smooth finish you get from the plastic and I had always struggled to mimic that with my natural nail. However when I use Mega Shine, I get a salon perfect finish every time. My nails are so shiny they look like gel and the formula smooths out any lumps or bumps from the polish colour application. If you want to cheat the look of gel nails without the price tag, this polish is a must!

IMG_9004

Sally Hensen Mega Shine, £6.99

Makeup Revolution Highlighters

I was lucky enough to be sent some products from Makeup Revolution and I was really impressed with the formulas of their highlighting powders in particular. In this palette there is a golden shade, a frosted pearl and a slightly more matte pink. They are so different from traditional highlighters on the market as they rely less on the sparkly aspect of a highlighter. Instead, they are almost more brightening powders and give the skin a lift from the clever shades they have chosen in this palette which really compliment fair to medium skin tones in  particular.

I mix the two lightest shades together for my light skin tone and wear the golden shade when I’m slightly more tanned. I love the more matte of the two pink shades, it makes a dull complexion come alive without looking glittery or shiny.

IMG_9003

Makeup Revolution Highlighter, £3.00 per pan

L’Oreal Eau De Teint

I love mixing this product with other foundations. If you have purchased a foundation that is too light for your skin tone or you want to make your winter foundation the right shade for the summer, this foundation is perfect to mix. Throughout my makeup career I have fallen in love with a few foundations that have been too light for my skin colour. I pump said foundation onto the back of my hand and pour a few drops of this foundation in with it then mix and apply. It’s water thin so doesn’t add any extra coverage but it blends seamlessly with other foundations and doesn’t give a green tint that I tend to get with traditional darkening drops.

I don’t like this product on it’s own as it literally does nothing for me- it’s like applying water to the face. But in terms of it’s ability to mix with other products, it’s fantastic. I’ve been reaching for it throughout the whole of January to get a good colour match with a lighter foundation I own.

IMG_9002

L’Oreal Eau De Teint, £9.99

What were your January favourites?

If you enjoyed this please like, comment and subscribe to Girl About Town.

Top Cream Cosmetics

Tags

, , , , , , ,

There’s something about cream cosmetics that exude luxury. The rich formulations never fail to make me feel pampered and extra pretty. Although due to my oily skin type I do orientate around powder products, the chalky payoff of powders don’t quite seem as lux as their cream counterparts. For my current cream formula faves I’ve tried to avoid the paste, liquid or cakey formulas and keep to the luxurious cream cosmetics which I know never fail.

Eye Shadow Sticks

These eye shadow sticks are the best of both worlds. They are super creamy and blendable but also set and don’t budge once they have dried. The sticks come in a range of colours and finishes and are the perfect base for building powder eye products or leaving them as they are, they don’t even require a primer. I love using the shade Rich Caviar as an eyeliner on my lash line and water line. Golden Bronze is also a firm favourite to apply to my lid straight from the bullet and blend out with my finger for some definition and colour on my lid when I want to be out the door quickly.

IMG_8646

Bobbi Brown Pro Long Wear Cream Eye Shadow Stick in Rich Caviar & Golden Bronze, £21.00

Cream Contour

Contouring sticks take the fuss out of carving definition into your face. The perfect size to use on the hollows of your cheeks, edge of your nose and temples,  you can quickly and easily add shadow to the face with precision. They come in two shades and are sold as a duo back with a highlighter (although I don’t like the highlighting stick as it seems wet and has little colour payoff). The formula is blendable, the colour is natural and still adds warmth to the face and it’s travel friendly.

IMG_8640

KIKO Pretty Rebel Contouring Duo, £13.50

Cream Eye Base

MAC Paint Pots have been a holy grail primer since the dawn of time. They have a cult following from beauty addicts and with good reason. The cream formula is dense, making it great for masking small veins on the eyelid and perfect for heightening the pigments and colour payoff in eye shadow. Shadows don’t budge once they have been layered over a Paint Pot and this product lasts such a long time. I’ve had two Paint Pots in my lifetime, Camel Coat which is a grey toned taupe and Painterly which is a perfect natural pink tone. I’ve hit pan on neither.

IMG_8641

MAC Pro Long Wear Paint Pot in Painterly, £15.00

Cream Highlighter 

Another MAC favourite cream product is their Cream Colour Base. These versatile cosmetics can be used for so many purposes. My favourite uses are to apply it to my lid for a spotlight eye look or on the top of my cheekbones as a highlighter. Layer it up for an intense look or apply a small amount for a more subdued glow.

IMG_8643

MAC Cream Colour Base in Hush Hush, £15.00

Face Primer

True cream primers are hard to find. Most that I’ve tried all seem to be water thin spray formulas in a bottle or silicone based gels. This sister product to Bourjois’ iconic Chocolate Bronzer is great for warming up sallow complexions. It looks very scary in the jar because it is super dark and is a universal shade. I apply a small amount the face and blend either by hand or with a densely packed brush for a glow under foundation in the summer months. I also love using this product when my foundation is a little too light and I mix a small amount on the back of my hand with a few pumps of foundation for a darker shade.

IMG_8642

Bourjois Bronzing Primer, £9.99

Cream Eye Shadow

My last favourite is Benefit’s cream eye shadows. They are super pigmented especially the frosted peal finish formulas, even without applying a lot of product. Although they are pricey for a cream eye shadow, Maybelline’s Colour Tattoo Eye Shadows are very similar for a fraction of the price.

IMG_8644 (1)

Benefit Creaseless Cream Eye Shadow in RSVP, £15.50

What are your top cream products you can’t live without?

If you enjoyed this please like, comment and subscribe to Girl About Town

Winter Beauty Saviours

Tags

, ,

Currently I am the definition of troublesome combination skin. My T-Zone is my typical oily breakout area but around the perimeter of my face my skin is seriously dry and dehydrated. As the colder weather brings icy winds, boiling central heating and less humidity in the air, our skin all starts to suffer. As someone who has never experienced anything but an oily, greasy skin type having dry skin has been a real shock to my system but I’ve definitely been able to keep it at bay using these winter skin savers!

Makeup Removers

Gone are the days of the summer months where I used gel cleansers with Salicylic Acid to combat my overly oily skin in an effort to stop the excess oil production. Now, I’m actively applying oil to my skin to hydrate and soothe it whilst removing my makeup. Aside from the expected moisturising properties of a cleansing oil, these products are super effective at removing all types of makeup, even pigmented lip stains and waterproof mascara. Simply apply, massage into the skin using your fingers and wash off with luke warm water for a dry skin friendly, makeup free refreshed face!

IMG_8327

L’Oreal Skin Perfecting Cleansing Oil, £5.29


Gentle Cleansing

Just because your skin maybe dry it doesn’t mean that cleansing can be skipped in your skin care routine. Cleansing the skin after makeup has been removed is so important in having a healthy complexion, it’s just about finding the right cleanser for your skin type. At the moment I’m loving this gentle cleanser from Cetaphil. The formulation is cooling on the skin which is soothing for combination skin types and feels hydrating over dry areas but not heavy on your T-Zone. I use this morning and night to remove dirt and impurities from my skin, without  causing it to dry out.

IMG_8326

Cetaphil Gentle Skin Cleanser, £8.35


Toning

Again, just because you have dry skin don’t think that this important step in your skincare regime can be missed! During the summer months I was using an astringent toner to battle the oil in my skin. Now my skin is much dryer I’m using a rose water based toner to calm and nourish my dehydrated skin. If like me you can suffer with irritated, inflamed skin then pop this in the fridge for a cooling, refreshing mist.

IMG_8330

Lushs Eau Roma Water, £8.50

Moisturising

Regardless of your skin type, moisturising is another vital step to healthy skin. Having a separate day and night moisturiser can be key in balancing your skin to avoid break outs whilst still having hydrated, smooth skin. I always opt for a lighter day moisturiser but go for one that is still rich and will be quickly absorbed to stop makeup slipping and sliding around the face. A colour correcting moisturiser that is tinted green is always a staple for me as it acts as a primary step in diminishing my red undertones before I’ve even applied any makeup.

A night moisturiser should be much more luxurious than your day moisturiser. Use this before bed when you won’t be applying any more products to your face but remember to let it absorb into the skin before hitting the pillow to avoid any marked pillowcases.

IMG_8325

Estee Lauder Revitalising Moisuriser , £45/ Day Wear Moisturiser, £42

A great multi-purpose moisturiser that I always carry with me is a travel jar of Vaseline. Super inexpensive but effective, I dab this all over my face very sparingly before makeup. This product acts as a barrier, stopping makeup clinging to dry areas of the face but is also very moisturising. Great for on the go hydration.

IMG_8323

Vaseline, £1.50


This is my favourite lip balm of all time! This medicated Chapstick is cooling and hydrating on dry lips. It’s simple and doesn’t break the bank either.

IMG_8324

Medicated Chapstick, £1.49


Body Moisturisers

In terms of moisturising your whole body, I keep things simple and avoid products that are over fragranced and could irritate my already dry, sensitive skin. I try to avoid over washing my body or using strong shower gels whilst I’m washing to keep my skin hydrated but when I jump out the shower I apply baby lotion all over. This gentle moisturiser won’t aggravate sensitive skin, smells lovely and doubles up as a makeup remover when travelling.

IMG_8329

Johnson’s Baby Lotion, £1.56

Don’t forget to include your hands in your body moisturising routine! We forget how important having healthy hands can be and cracked, chapped painful hands can be a big hindrance. I actually tend to opt for less expensive formulations as I find they absorb quicker so I can carry on with my day/evening. Thicker, luxurious products often sit on the surface of my hands and take a long time to sink it, so I leave greasy finger prints everywhere!

IMG_8328

Superdrug Anti Aging Hand Cream, £1.49

Hair Treatments

Lastly, our hair can often be neglected in the winter months. Although a hat can work wonders to disguise almost any hair malfunction, healthy hair will never be out of fashion. I have very fine hair, so I can’t use too much product or it will weight it down and make it look greasy. To add some extra protection and hydration, I use heat protecting serums. They are light weight, will protect the hair from hot tool damage and will nourish dry ends…Perfect!

IMG_8331

Botanics Heat Protect Serum, £3.99

What are your Winter beauty staples?

October Favourites!

Tags

, , ,

Welcome to my October Favourites! I have totally embraced winter now we are heading into November and I’m starting to reach for more richer tones in my makeup collection. Gold and berry shades are classically and stereotypical the main colours I have been lusting after, but I’ve been opting for more antiqued palettes and purple undertone gold’s and reds, which you will see from what I’ve been loving this month!

There is one brand that has been creeping into my makeup collection this month and that is Kiko. I’m a real fan of liquid lipsticks anyway, these formulas are usually guaranteed to last throughout eating and drinking, be super pigmented and not smudge. This one is definitely no different and the colour range is beautiful. My favourite colour is this Sangria berry toned colour which is super appropriate for this time of year. When you apply it, to start with it will look and feel glossy and then will dry to a deep, dark matte shade. Beware when swatching this in store, it has long lasting staying power and you won’t be able to wash it off for days! The applicator has a small soft sponge which makes it great for carving out the cupids bow.

IMG_8034

Kiko Matte Muse Lipstick, £6.90

IMG_8035

My next item is a must have for no makeup, makeup days. When I want to look put together very quickly, this item is a must have. Unlike other brow mascaras that can have thick applicators that make them messy to apply and thin, sloppy formulas that mean you have to clean up after them; this Maybelline gel does not do this. The wand has a small ball at the end meaning you can catch your brows, without coating stray hairs. It really holds brows in place, even once you have filled them in, which makes it an ideal product if you just want to set your brows.

Maybelline Brow Drama, £4.99

Another product from Kiko I have loved this month is the Mixing Solution. Shimmery gold pigments have been playing a big part in my makeup looks recently and I’m always on the hunt for a solution to adhere loose pigments to my eyes and accentuate the shimmer in them. I apply a tiny drop of this product to the back of my hand with the loose pigment and mix. The dry pigment will have more of a cream shadow consistency and so will adhere better to the skin and the colour pigments will be brought out beautifully.

IMG_8036

Kiko Mixing Solution, £3.90

I never normally have nail product favourites because I used to have my nails done professionally. Every so often I do like to let my natural nail bed breathe and repair though and when this does happen, I often stumble across miracle nail products. One of my all time favourites is this one from Sally Hansen. With this product you could definitely use a super cheap polish colour, which may lack pigmentation and chip easily. But once this top coat is applied any bumps or smudges will be evened out, a think shiny gel top layer will develop and it will make your polish last longer. An actual genie in a bottle granting our nail wishes!

IMG_8037

Sally Hansen Mega Shine, £6.95

  A favourite post wouldn’t be complete without at least one addition of a rediscovery, for me this is my Naked Basics 2 palette. I’ve recently opted for doing winged linger with a fine angled brush and a powder rather than a traditional kohl, gel or liquid liner. The shade selection in this palette is great for winged eyeliner, especially the darkest colour to the right. I feel like this method still gives wing definition but looks much more sultry and soft. You can also blend it out and into your crease line, making your eyes look super smoked out really easily.

IMG_8039

Urban Decay Naked Basics 2, £23.00

My last item that I have loved this month is this Kiko Contouring Pencil duo. The cream formulas blend out super easily and smoothly, making them a great contouring tool for beginners. They are also my go for face definition when I’m having a minimal makeup day because they do look super natural.

IMG_8040

IMG_8042
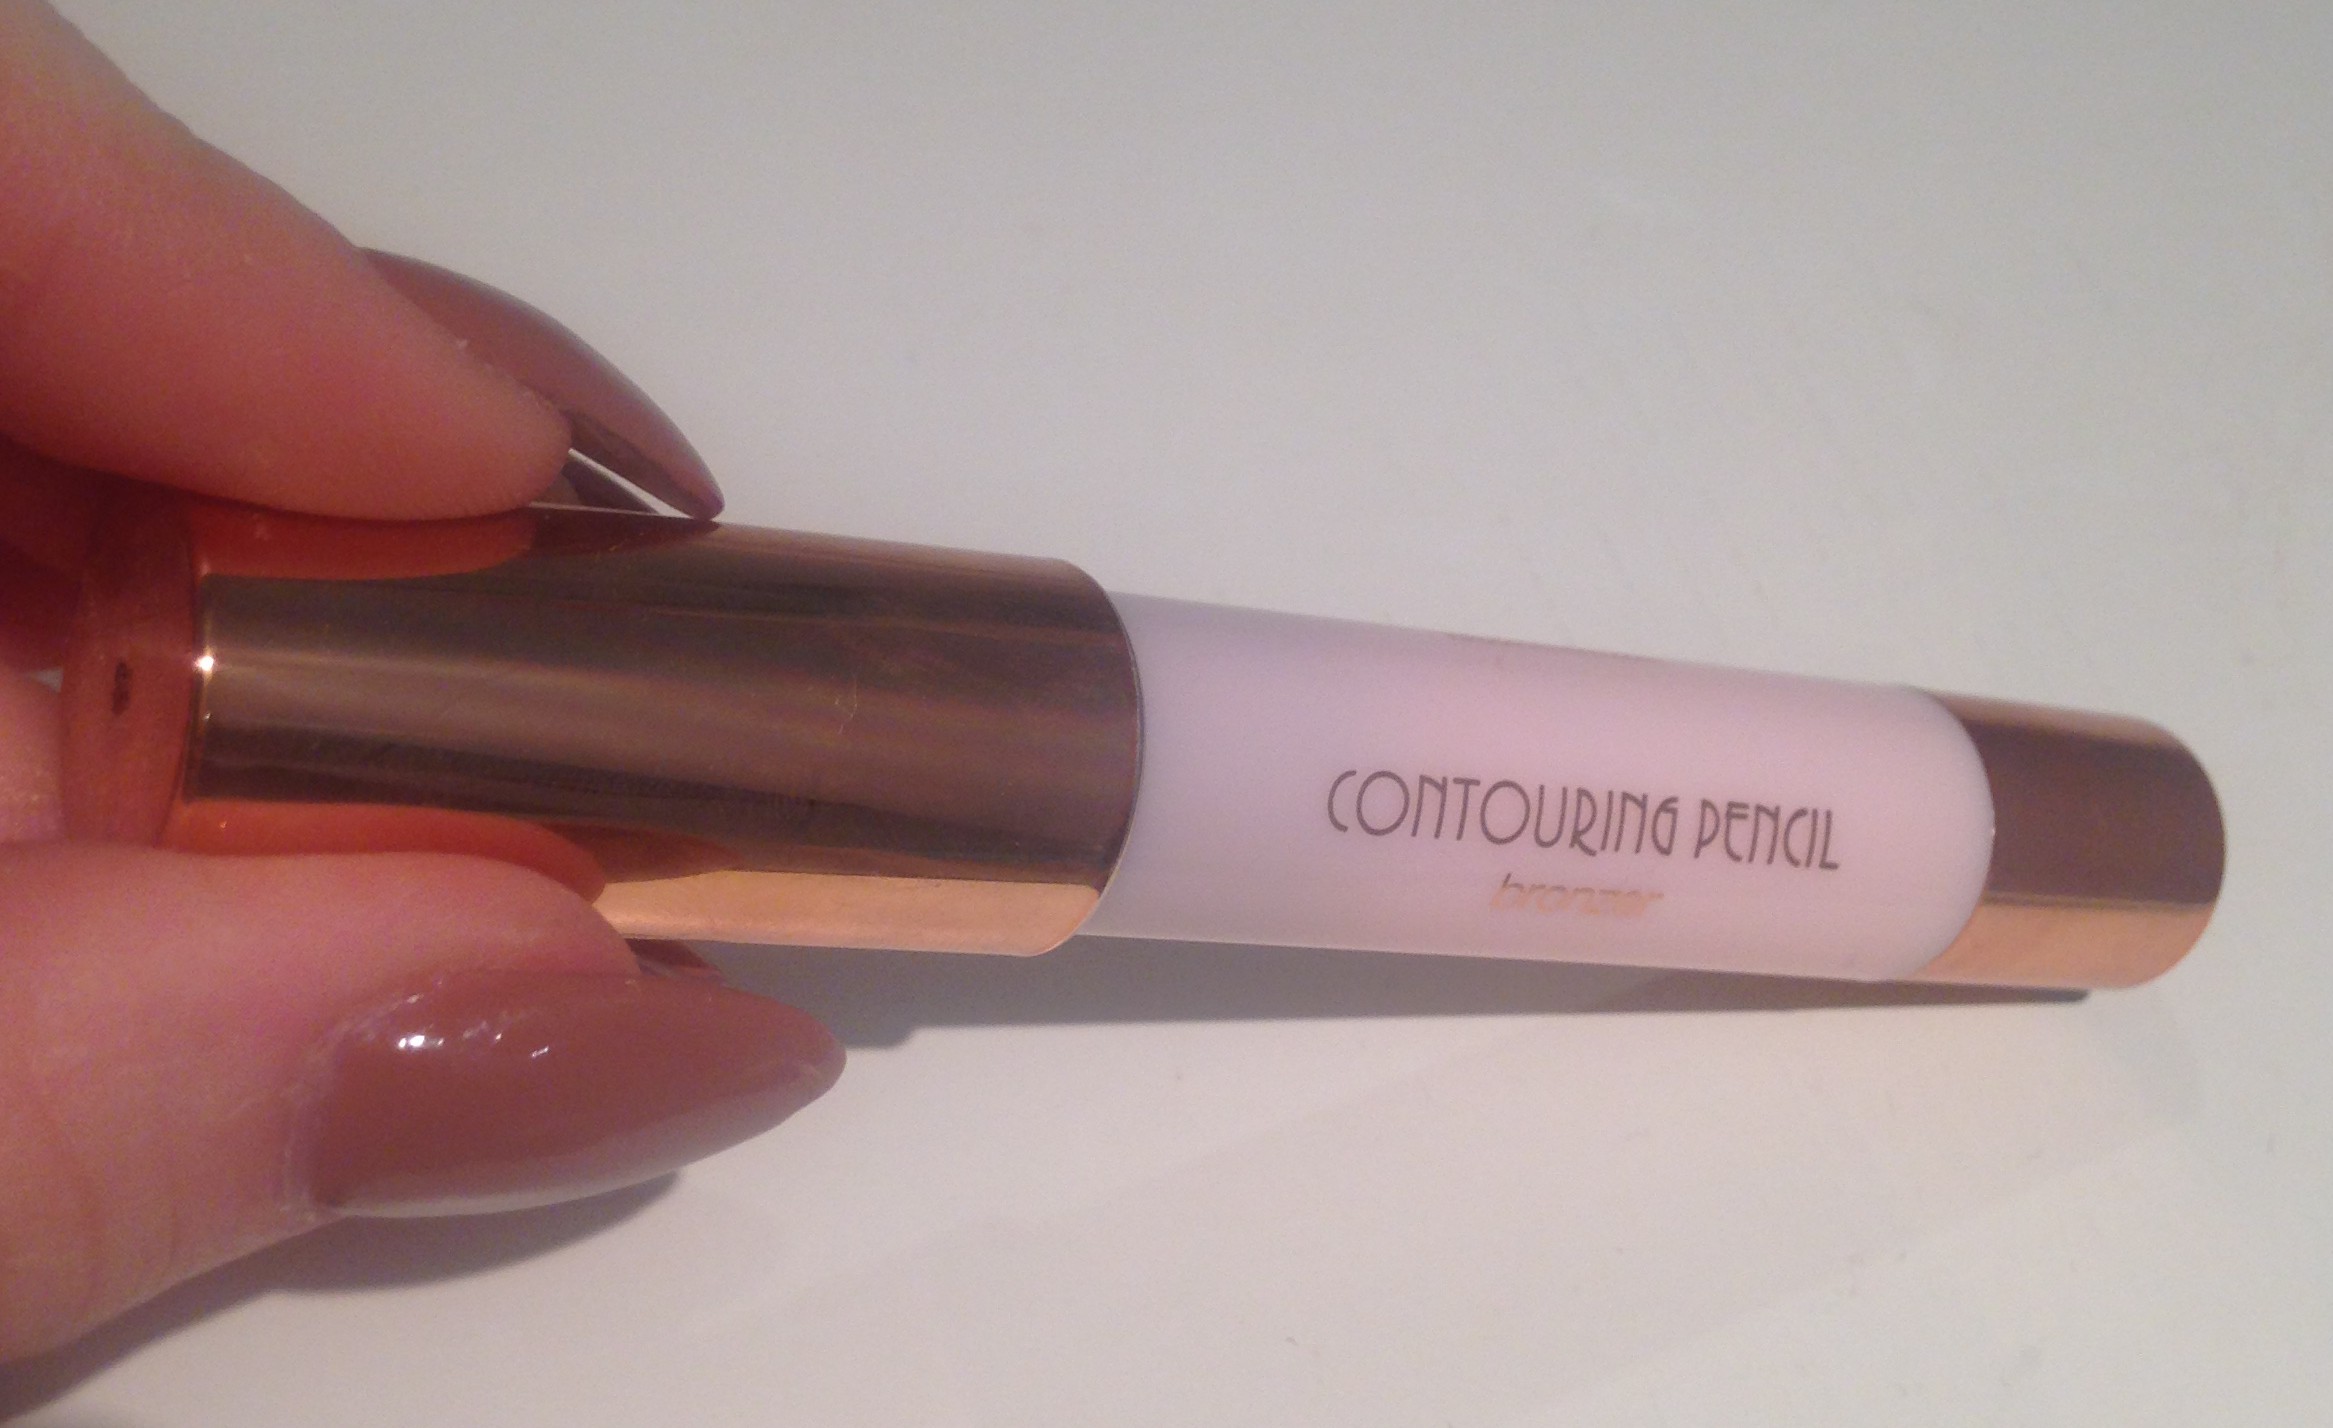
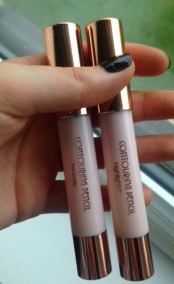
– Kiko Contouring Pencil Set, £9.90


What have been your favourite makeup products this month?

Wearable Glitter

Tags

, ,

Lots of people choose to shy away from wearing glitter makeup. Shimmer products have never been more wearable for people of all ages, it’s really a question of knowing what glitter product is wearable for you and where to apply it. I opted for a sparkly champagne coloured glitter shadow that looks subtle but still striking and can be worn universally.

To start with, I applied my sellotape as always, angled from the bottom of my lower lash line diagonally up to my brow bone to deliver a sharp and crisp eye shadow line. I always apply the tape to the back of my hand first and peel it off before applying it to the delicate eye area, to remove some of the stickiness that can cause you to pull or tug on your eye.

Next, I primed my eyes using MAC’s Paintpot in Painterly to neautralise the natural redness in my eyes. Then I blended Sombre from Kat Von D’s Shade and Light Palette  across my brow bone to create definition in the socket. I then layered Shadowplay over the top of Sombre, concentrating on the outside corner to create a strong transitional shade over my eye. You can use any matte brown eye shadow or bronzer for this step.

IMG_7516IMG_7517

Next comes the glitter! Today I’m using the Infinity Plus Sparkle Eyeshadow from Kiko in the shade 400 Gold. Unlike using loose pigments that can get messy and fall out onto your face makeup during the day, the glitter in eye shadows is packed in much tighter and is less likely to drop out. In any case, I always apply my eye shadow before my face makeup so I can clean this up.

I applied this shadow on the inner half of my eye lid and down to the inner corner of my lash line. I then sprayed my flat top brush with a makeup setting spray and then applied more eye shadow and packed on the product to intensify the gold. You can really make this as subtle or as bold as you want. With a pencil brush I then took a medium brown eye shadow and blended this along the crease of my eye so there is no harsh divide from where the gold starts.

IMG_7518IMG_7519

To finish off the eyes for now, I smudged kohl liner along the outer third of my lash line. I didn’t want to detract from the glitter by using a solid black liner across the whole of my eye. Smudging liner along the outer third gives definition but does not take away from the glitter shadow.

After removing the tape I then applied my Smashbox Primer as always, then layered Max Factor’s CC Pencil in a triangle under my eyes. I mentioned this product in my September favourite’s post if you want more of a detailed look into this stick, but I love it for brightening up my under eye area.

IMG_7522

The foundation I’m using is another September favourite product, my Estee Lauder Maximum Cover Foundation. It’s super high coverage and mattifying but still gives a natural healthy glow to the skin.

I then went in and highlighted my face using MAC’s Prep + Prime pen in Light Boost before blending this out with a damp beauty blender and powdering my face using the Shade and Light palette.

IMG_7520IMG_7521

To start pulling this look together, I filled in my eyebrows using a fine, angled brush and MAC’s Fluidline Brow Gel Cream in Deep Dark Brunette. Although I do this free hand, I do sometimes clean up my brows with concealer. I then started to contour and carve out my cheekbones, using the Shade and Light Palette again in the colour Subconscious on the top of my cheekbones, along my jaw bone, over my temples, down the side of my nose and on my chin.

IMG_7524

Moving on from that, I then blended the contouring out with a fluffy, angled brush and baked my contour using loose face powder along the bottom of my jaw. This tidies up any wayward blending of your contour, mattifies the face and adds a contrasting colour to your contour, making it look even more defined.

IMG_7525IMG_7526

To complete this look I then applied MAC’s Soft and Gentle Highlighter along the bridge of my nose, the top of my cheekbones, over my temples and along my brow bone. On my lips I went for a nude because I am obsessed with a natural looking pout at the moment so I’m wearing Limecrime’s Babette lipstick with Stripdown liner from MAC.

Lashes are optional, however I do feel that when you have a striking eye look, lashes are always a good move to compliment the eye. I’ve also applied my contouring shade on my lash line for a less harsh alternative to kohl liner for a smoked out look.

IMG_7527 IMG_7528

What are your favourite glitter products?

If you enjoyed this please like, comment and subscribe to Girl About Town

September Beauty Favourites

Tags

, ,

If there’s one thing I love, it’s discovering someone else’s beauty obsessions. I haven’t done a monthly favourites post in some time and I definitely feel I need to share what products I have been lusting over in the month of September.

Colour correcting has been a favourite beauty trend for me this month. I’ve recently started suffering a lot more with dark circles under my eyes that won’t budge, no matter how heavy duty my base is. Because of that, I started experimenting with colour to counteract the blue, purple tones under my eyes rather than just concealing. This is a much more effective way of dealing with pigmentation issues as layering foundation only masks the problem rather than correct it.

This palette from MUA is a great place to start with colour correcting- it’s affordable, the colour tones aren’t too scary and it’s so easy to use. I personally reach for the orange tone and blend using my finger under my eyes. The green colour is also great for redness.

IMG_7720

MUA Pro Base Prime & Conceal Palette, £4.00

I absolutely adore baked blushes. Long gone are the days of one colour per pan, now we have the choice of using blush with multiple underones and colour selections. This one from Max Factor particularly caught my eye. Plum tones are flatting on all skintones and this baked blush gives a slight healthy sheen to the cheeks.

IMG_7721

Max Factor Creme Puff Blush in Lavish Mauve, £8.99

This makeup item will be a staple in my collection for the rest of time. In my eyes this foundation can do no wrong. I recently fell back in love with this product that I discovered at the star of the year and I haven’t been able to put it down during the last month.

As a woman with oily skin, I used to always be on a mission to find a foundation that was full coverage, mattifying and long lasting but didn’t look caked up or unnatural. This foundation does all of the above and more.

I absolutely adore it. Although I was advised against using such a full coverage foundation by numerous shop assistants, I was adamant I wanted to try it. You will need a dense brush to work this product into the skin- a beauty blender type product won’t be able to distribute out this dense formula. On lighter makeup days, I will just use this as a concealer or mix it with my moisturiser for a lighter application.

IMG_7715

Estee Lauder Double Wear Maximum Cover, £30.00

I am a highlighter floozy. Although I’m promiscuous with all of my makeup as I can’t resist trying the latest products, I am particularly smutty with my highlighters. I’m always looking out for a new beauty item to make my skin glow.

This eyeshadow from Kiko is a delicate champagne shade and as you can see from the pan, it’s well loved and with good reason! I dust this along top of my cheekbones, down the bridge of my nose and on my brow bone for a subtle sheen. It’s super blendable and so pretty on the skin.

IMG_7717

Kiko Infinity Eyshadow, Pearly Light Gold, £2.80

Another colour correcting item I have been obsessed with is this CC crayon from Max Factor. Although this product is described as a “dark spot corrector”, using it under eyes and layering it with foundation totally eliminates any blue tones. This doesn’t crease and blends seamlessly with foundation, creating a neutral canvas for makeup.

IMG_7716

Max Factor Colour Corrector Sticks, £8.99

Although I never normally splurge on mascara, I’ve heard so many amazing reviews of the Dior Show, I had no choice but to try it. Although not volumising, this super lengthening marcara doesn’t clump at all and is an opaque, solid black tone. The wand is full and bushy, making even application over the lashes easier than ever before.

IMG_7718

Dior Show Mascara, £24.50

I have always been a tanaholic, but as a pastey girl I find it hard to maintain. To keep myself looking naturally bronzed I apply a thin layer of this moisturiser all over my body. I then wake up looking brown but super natural.

However, because of the orange undertones in this I find I can’t reapply this on a daily basis because you will start to glow a neon shade! I’m also not a fan of cocoa butter, but if you like that scent you will adore the smell of this product.

IMG_7719

Palmers Naturally Bronze,£3.69

Those were my favourite beauty items this month, all of which I would suggest you purchase, especially as most of them were super affordable. What’s been your best budget beauty buy for September?

If you enjoyed this please like, comment and subscribe to Girl About Town

Holiday Essentials

Tags

,

When you’re holiday packing, one of the most stressful things to consider is what cosmetics to bring with you. When packing your vacation makeup, it’s vital to ask yourself three main questions:

1- How long am I going for?

As tempting as it may be, don’t over pack! Bring tester sized products if you are only going for a few days or travel sized mini cosmetics if you’re going for a week or two. Ask your favorite counter for testers of face makeup like foundation or concealer to get handy travel sized products. Invest in gift sets for mini face and eye palettes, which are so handy on the move and usually come with a compact mirror.

2- Where am I going?

Consider the humidity and weather of your destination. Ideally, look up a day or two before you leave so you know whether you will be packing a heavy duty primer to keep makeup from sliding in the heat or a rich, luxurious moisturizer to keep skin hydrated in colder climates.

3- Will I tan?

If you are lucky enough to go on holiday somewhere where you may pick up colour, make sure the cosmetics you are packing reflect that. Take darker face makeup like foundation, concealer, blusher and bronzer. Make sure you are familiar with how to use these darker products before you jet off. If you don’t tan, pack minimal makeup for a look you know you love and looks great on you.

After you know the answer to the above, you can start to get together the basics of your makeup bag! Here are my summer holiday essentials:

Rose Water

When I’m in a hot climate, the last thing I want to do is apply my usual harsh acne toner when preparing my skin for makeup. Instead of stripping my skin, I want to feed it with hydration. To do that whilst avoiding anything too heavy, I use rose water. This will keep your skin feeling cool and calm, whilst helping to avoid any prickly heat on the face.

Use this under or over makeup, whenever you are feeling hot and bothered to keep your skin looking healthy.

IMG_7295

Lush, Eau Roma Water, £7.95

A Good Quality Primer

I have tried so many primers and the below is definitely my favourite! This Smashbox Pore Minimising Primer is pricey but is so worth it. It keeps my makeup in place all day, despite my very oily skin type. It’s mattifying and feels super smooth on the skin, making applying makeup a dream, especially if you suffer from acne or any unevenness on the skin.

If you aren’t too worried about enlarged pores, Smashbox have so many primers for an array of skin problems, from blemish control to dark spot correcting, you will definitely find something to suit your skin.

In a hot climate, this product is an absolute must.

IMG_7292

Smashbox, Photo Finish Primer, £28.00

Silky Illuminator

Nothing says holiday makeup to me like dewy, healthy, glowing skin. I always stick to minimal face makeup, but a sheer liquid highlight is always a must.

I used to love totally matte skin before I tried out this product. On a whim for a previous holiday, I purchased this highlighter from Revlon. This is such a versatile product, apply it under foundation, mixed with foundation or over the top of foundation on the high points of your face for a glow. This product comes in four varying shades for every skin tone. I went for the tan option, for a pretty and delicate gold highlight.

Every time I wear this, I always get compliments on my skin.

IMG_7288

Revon, Photo Ready Illuminator, £11.99

Dewy Concealer

Avoid anything too heavy and cakey in a hot climate and opt for a light, highlighting concealer instead. I tend to suffer with dark circles more than breakouts, so this product is a must for my makeup kit. It’s super creamy and blendable, use the heat from your finger to break down the product and buff into the skin to save on taking makeup brushes.

Apply this under your eyes, along the bridge of your nose, cupids bow and forehead for light coverage and a healthy glow.

IMG_7289

Nars, Radiant Creamy Concealer, £22.00

Creamy Eye Shadow

On holiday I always opt for a no frills, safe eye makeup look. For me, the easiest way to achieve that is with an eye shadow stick. Choose one that you know is long wearing and won’t crease up on oily eyelids in humidity. Take a super creamy formula, like this one from Bobbi Brown and apply from the stick along the lash line and lid. Blend with your finger up to your crease for an effortless eye look and add to the bottom lash line for extra drama.

I always opt for complimentary shades like deep, bronze tones and dark browns so I have the choice to use these separately or together.

IMG_7299

Bobbi Brown, Long Wear Shadow Stick, £21.00

Two in One Mascara

An eye product that is both a lash primer and mascara will save you when you’re by the pool with no makeup, but still want to look wide awake. This one by L’Oreal has a lengthening opaque white primer one end and a dense, carbon black mascara the other side. Use the mascara on it’s own for a pretty, wide eyed look or combine with the primer in the evening for a more dramatic appearance.

I always choose waterproof formulas especially during hotter weather, although ensure you have an excellent eye makeup remover if you do.

IMG_7290

L’Oreal, Double Extension Mascara, £9.54

Blush/ Highlight Duo

Save space in your makeup bag by investing in a blush and highlighter duo. Not only do these compacts have beautifully complimenting shades, but you will be packing two products in one.

Nars currently have an excellent range of beautifully pigmented, summery duo shades to suit every skin tone. The highlighters are particularly stunning and look gorgeous when sunlight hits the face and screams healthy skin.

Use wet or dry depending on the intensity you desire. If you aren’t into a very dewy look, opt for either an illuminser or highlighter.

IMG_7286

Nars, Dual Intensity Blush, £30.00

 Creamy Lipstick

I always have to wear lip products and in a hot climate, a long standing formula can be hard to find. Because of that, I always use stains or long wearing creams, which tend to be less drying and more comfortable on the lips.

This pretty pink shade from Collection is girly, sweet and looks great on pale or darker skin tones alike.  It is also guaranteed to last all day, no matter how many ice creams you have. Layer these with a lip balm or sunscreen stick if your lips do start to get dry though out the day.

Collection, Cream Puff Lip Cream, £2.65

Setting Spray

It doesn’t matter where I go, I always finish off my makeup with a setting spray. It’s so important to lock in your makeup, with either a moisturising spray if you have dry skin or a mattifying spray if you are more prone to oily skin.

You can even double this up as a primer if you are short of space in your luggage and apply before makeup to adhere makeup to the skin.

Urban Decay, Deslick Setting Spray, £18.50

A Long Lasting Tan

Whether you get it outside or from a bottle, a holiday glow is always essential. This one from St Tropez is my absolute favourite at the moment. It’s totally customisable and so, is suitable for everyone.

Leave on for one hour for a light glow, two hours for a bronzed look or three hours for a deep tan.

IMG_7294

St Tropez, One Hour Tan, £33.00

These are my absolute holiday essentials. What are yours?

If you enjoyed this please like, comment and subscribe to Girl About Town


You Need to Know This (Part 2)

Tags

, ,

A girl can never know too many beauty hacks. These little tips will save you time, money and effort..What’s not to love?! I did a beauty hacks post a little while ago now and although I still use those tips, there are so many more that I’ve been implementing into my routine. I’m always on the hunt for new beauty tricks and love sharing any hacks that I’ve found particularly useful. Here are my favourites right now!

1- Cut your nail polish drying time

This hack has to be one of my holy grail tips! When your polish is semi dry, I’m often fooled into thinking I’m OK to go about my day but all too often when I look down at my nails they are dented, cracked or chipped. The phrase “The only time a woman is helpless is when her nail polish is drying”, is definitely true! To ensure the perfect manicure, when your nails are semi dry, run them under cold water, as cold as you can stand. This will harden the polish super quickly and will cut your drying time down significantly.

2- Save your mascara

Buy some cheap and cheerful contact lense solution and apply a few drops to dried out mascara. Give your mascara a shake and I promise this will resurrect your mascara and will maximise its longevity, saving you money and a trip down to Boots.

3- A cold shower

Another cold water related tip! After you have finished washing your hair in the shower, run cold water over your locks. This will seal the hair follicles that will have been opened up from warm water and help smooth frizz prone hair.

4- Vaseline!

Whoever said diamonds are a girls best friend clearly never had a dog or used Vaseline. This amazing product should be in every woman’s bathroom cabinet as it can be used for so many different beauty purposes. My personal favourite uses are applying it to my eyebrows, knees and elbows before self tanning to stop the product clinging to these dry areas, using it to soothe unsightly excema prone areas for quick relief, conditioning my eyelashes and smoothing back baby hairs along my hair line.

5- Brows!

I only ever pluck my uni-brow, apart from that I leave my brows to do their own thing, which I’m sure I will be glad of when I’m older. Over plucking brows is a cardinal beauty sin (unless you want to totally redefine the way your brows sit on your face, which drag makeup favours) but because of my lack of plucking, my brows can get a little bit untamed at times. When they are looking a little more unruly than usual, I apply a stick primer, such as Benefit’s 15 Hour Primer, lightly over my brow. This will set them in place all day and I can still apply my brow products over the top.

If you are after an ombre Instagram brow, the easiest way to achieve this with a naturally full brow is to only apply product to the outer third of the brow. By only structuring the tail, a natural but still defined brow can be achieved, with a gradient fade towards the inner corner of the brow.

6- A long lasting tan

As a fake tan addict, I have tried and tested so many products. Once I have a full body tan, I want to make it last as long as possible. After around 3 days, I usually find my tan starts to fade and go patchy. To avoid this, use a gradual tanning moisturiser at the point when your tan starts to fade. Not only will this moisturise your skin, keeping it soft and smooth (dry skin will shed fake tan quicker) but will also add a hint of self tan to help keep it even. My favourite is from Palmers.

7- Shake it up!

Something too many of us forget is to shake up our liquid products, specifically foundation. These guys can split and separate very quickly, meaning you don’t have an even mix of product and this will effect the finish and performance of your makeup. Before every foundation application, make sure you always take a few seconds to shake up your foundation.

What are your favourite beauty hacks!?

If you enjoyed this please like, comment and subscribe to Girl About Town